
Enter your room size and maximum spacing to plan a centered recessed-light grid with fixture count, spacing, and equal wall offsets.
Table of contents
How to use our Recessed Lighting Layout Calculator
- Measure the finished room wall to wall in both directions. Enter decimal feet or a marked feet-and-inches measurement such as 12 ft 6 in.
- Enter the maximum center-to-center spacing from the fixture documentation, photometric information, or your planning choice.
- Select "Calculate" to get the number of fixtures, columns and rows, actual spacing, and the distance from each wall to the nearest fixture center.
- For a second count check, open "Advanced options" and enter both the listed lumens per fixture and your brightness target in foot-candles.
- Check that each actual spacing is at or below your selected maximum. Before marking holes, locate framing, ducts, pipes, wiring, insulation, and required fixture clearances.
Definitions
Centered grid: A rectangular fixture pattern with equal spacing between centers and matching offsets from opposite walls.
Center spacing: The distance from the center of one fixture to the center of the next fixture in the same row or column.
Wall offset: The distance from a wall to the center of the nearest fixture. In this layout, it equals half the center spacing in that direction.
Column and row: Columns run along the entered room length. Rows run across the entered room width.
Lumen: A measure of a fixture's listed light output.
Foot-candle: A planning light level equal to one lumen per square foot.
Common mistakes and quick fixes
Mistake: Entering room area instead of separate length and width.
Fix: Measure both directions. Area alone cannot determine the columns, rows, or spacing in each direction.
Mistake: Using maximum center spacing as the distance from a wall to the first fixture.
Fix: Enter the largest desired distance between fixture centers. Use the calculated wall offset to mark the first fixture center.
Mistake: Entering lumens without a brightness target, or the target without lumens.
Fix: Enter both optional brightness values or leave both blank. The brightness check needs fixture output and a target level.
Mistake: Treating listed lumens as the light level on a counter, desk, or floor.
Fix: Use the lumen result only as a planning comparison. Beam shape, ceiling height, surfaces, and obstructions change delivered light.
Mistake: Cutting holes from the grid before checking the ceiling.
Fix: Confirm joists, ducts, plumbing, wiring, insulation requirements, and the fixture maker's installation clearances first.
Limitations & Key Assumptions / Boundary Conditions
- This is a first-pass centered rectangular grid. It does not place lights around cabinets, furniture, focal points, sloped ceilings, or irregular room shapes.
- The maximum center spacing is a planning limit you enter. It is not a universal recessed-light spacing rule.
- Check each proposed location against joists, ducts, plumbing, wiring, insulation, fire-rated assemblies, and the fixture maker's installation and clearance requirements before cutting.
- The optional brightness check uses listed lumens per square foot. It does not predict light at a desk, counter, or floor because beam distribution, ceiling height, surface reflectance, dimming, and obstructions affect delivered light.
- The calculation puts one fixture at every grid intersection and uses equal wall offsets. Rooms with separate task, accent, or general-lighting areas may need a different plan.
Methodology
Centered grid calculation
The calculator finds the number of columns and rows separately, always rounding each count up to a whole fixture position. This keeps the actual center spacing at or below the maximum spacing entered for each direction.
columns = ceil(room length / maximum center spacing)
rows = ceil(room width / maximum center spacing)
fixtures = columns * rows
It divides each room dimension by its directional count to get the actual equal center spacing. The offset from either opposing wall is half that spacing.
length spacing = room length / columns
width spacing = room width / rows
end-wall offset = length spacing / 2; side-wall offset = width spacing / 2
Worked layout example
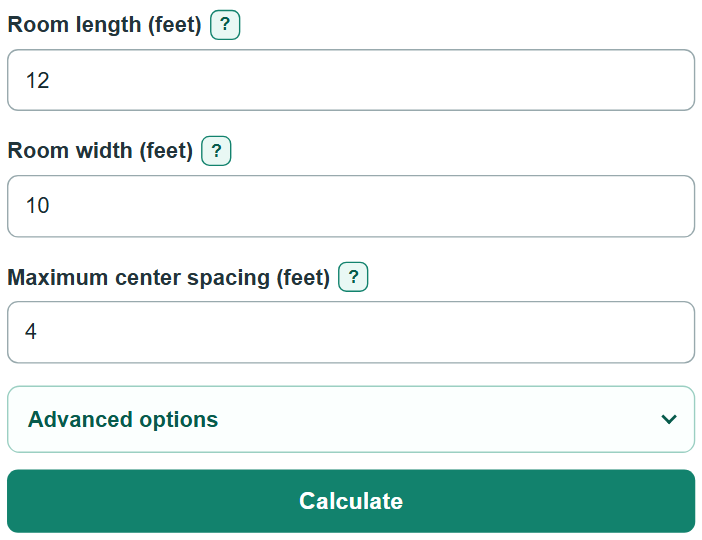
For a 12 ft by 10 ft room with a 4 ft maximum center spacing, there are 3 columns and 3 rows, or 9 fixtures. Spacing along the length is 12 / 3 = 4 ft. Spacing across the width is 10 / 3 = 3.33 ft. The end-wall offset is 2 ft, and the side-wall offset is 1.67 ft.
Optional brightness check
When both optional brightness values are present, the calculator estimates a whole-fixture count from room area, the selected foot-candle target, and listed lumens per fixture. It also reports the listed lumen total for the spacing grid.
brightness fixtures = ceil((room length * room width * foot-candles) / lumens per fixture)
If this count differs from the spacing-grid count, the calculator states how many more fixtures one method calls for. The comparison is a simplified planning check, not a fixture-specific lighting prediction.